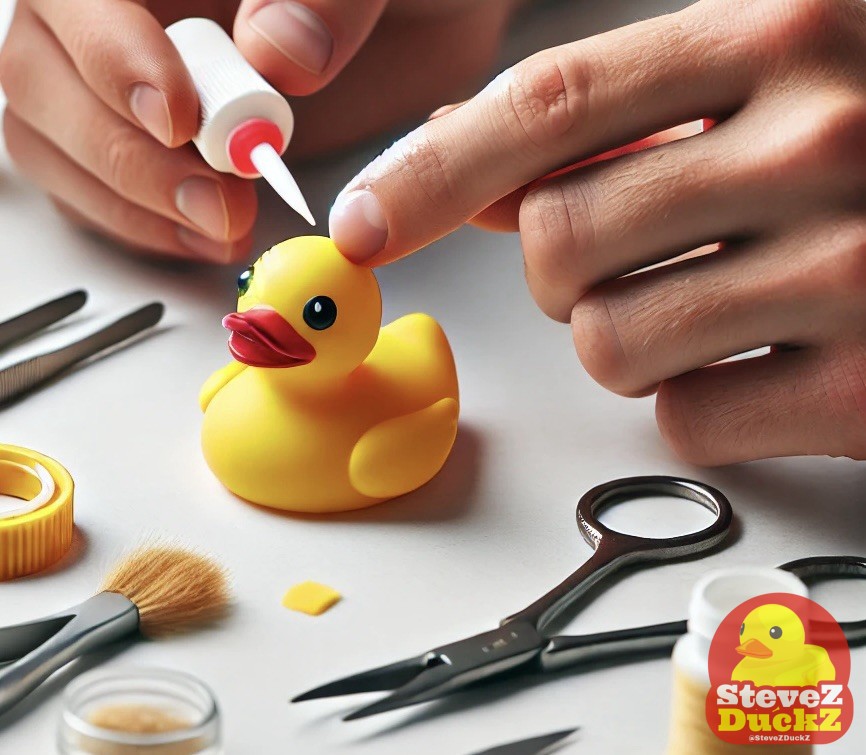
Quack-ups Happen: How to Repair Rubber Ducks — Rubber ducks are more than just bath toys; they’re collectors’ items, sources of joy, and sometimes, even travel companions. But like any cherished item, accidents happen.
How to Repair Rubber Ducks

A rogue squeeze, a tumble from a shelf, or a close encounter with a curious pet can leave your beloved ducky with a scratch, tear, or puncture. Fear not, fellow rubber duck enthusiasts! Minor damage doesn’t have to mean a farewell float.
Here’s how to repair your rubber ducks and keep them swimming:
The Inevitable Quack-cident:
Whether you have a classic yellow duck, a whimsical character duck, or a rare collectible, the reality is that rubber and vinyl materials can be susceptible to wear and tear. Common issues include:
Scratches and Scuffs: Superficial marks that mar the duck’s smooth surface.
Small Tears and Punctures: Holes or rips caused by sharp objects or rough handling.
Separated Seams: The seams where the duck’s body parts are joined can sometimes weaken and come apart.
DIY Duck Repair: A Step-by-Step Guide
Before you resign your damaged duck to the “retired” pile, try these simple repair methods:
Assess the Damage:
- Carefully examine the duck to determine the extent of the damage.
- Identify the type of damage (scratch, tear, puncture, etc.).
- Clean the damaged area with mild soap and water, and allow it to dry completely.
Gather Your Supplies:
- Silicone Glue: This is a flexible and waterproof adhesive that works well for rubber and vinyl repairs. Look for a clear, fast-drying formula.
- Rubber Repair Kits: These kits, often found in craft or outdoor gear stores, contain patches and adhesives specifically designed for rubber and vinyl.
- Cotton Swabs or Applicators: For precise application of glue.
- Masking Tape (Optional): To hold damaged areas together while the glue dries.
- Fine-grit Sandpaper (Optional): To smooth rough edges of scratches or tears.
Repairing Scratches and Scuffs:
- For minor scratches, a gentle buffing with a soft cloth may be sufficient.
- For deeper scratches, apply a thin layer of clear silicone glue to the affected area.
- Allow the glue to dry completely according to the manufacturer’s instructions.
- If the scratch is rough, very lightly sand the area before cleaning, and then applying the silicon glue.
Repairing Tears and Punctures:
- For small tears and punctures, apply a small amount of silicone glue to the edges of the damage.
- Press the edges together firmly and hold them in place until the glue sets.
- For larger tears, use a rubber repair patch from a repair kit. Follow the kit’s instructions for applying the patch.
- Masking tape can be used to hold the edges together while the glue sets.
- Allow the glue to cure fully before exposing the duck to water.
Repairing Separated Seams:
- Apply a thin bead of silicone glue along the separated seam.
- Press the two parts together firmly and hold them in place until the glue sets.
- Use masking tape to secure the seam while the glue cures.
Important Considerations: - Always work in a well-ventilated area when using glue.
- Follow the manufacturer’s instructions for the specific glue or repair kit you are using.
- Allow the repaired duck to dry completely before placing it in water.
For significant damage, it may be best to consult a professional toy repair service or consider replacing the duck.
Keeping the Quack Alive:
By following these simple repair tips, you could possibly extend the life of your beloved rubber ducks and keep them afloat for years to come. Remember, a little TLC can go a long way in preserving these delightful companions. So, don’t let a little damage dampen your ducky’s spirit! Happy repairing!
What tips and tricks do you have for repairing rubber ducks? Share on the duckie comments below.
Discover more from SteveZ DuckZ
Subscribe to get the latest posts sent to your email.


1 Comment